Spooky Mad Science Expo!
Boo!
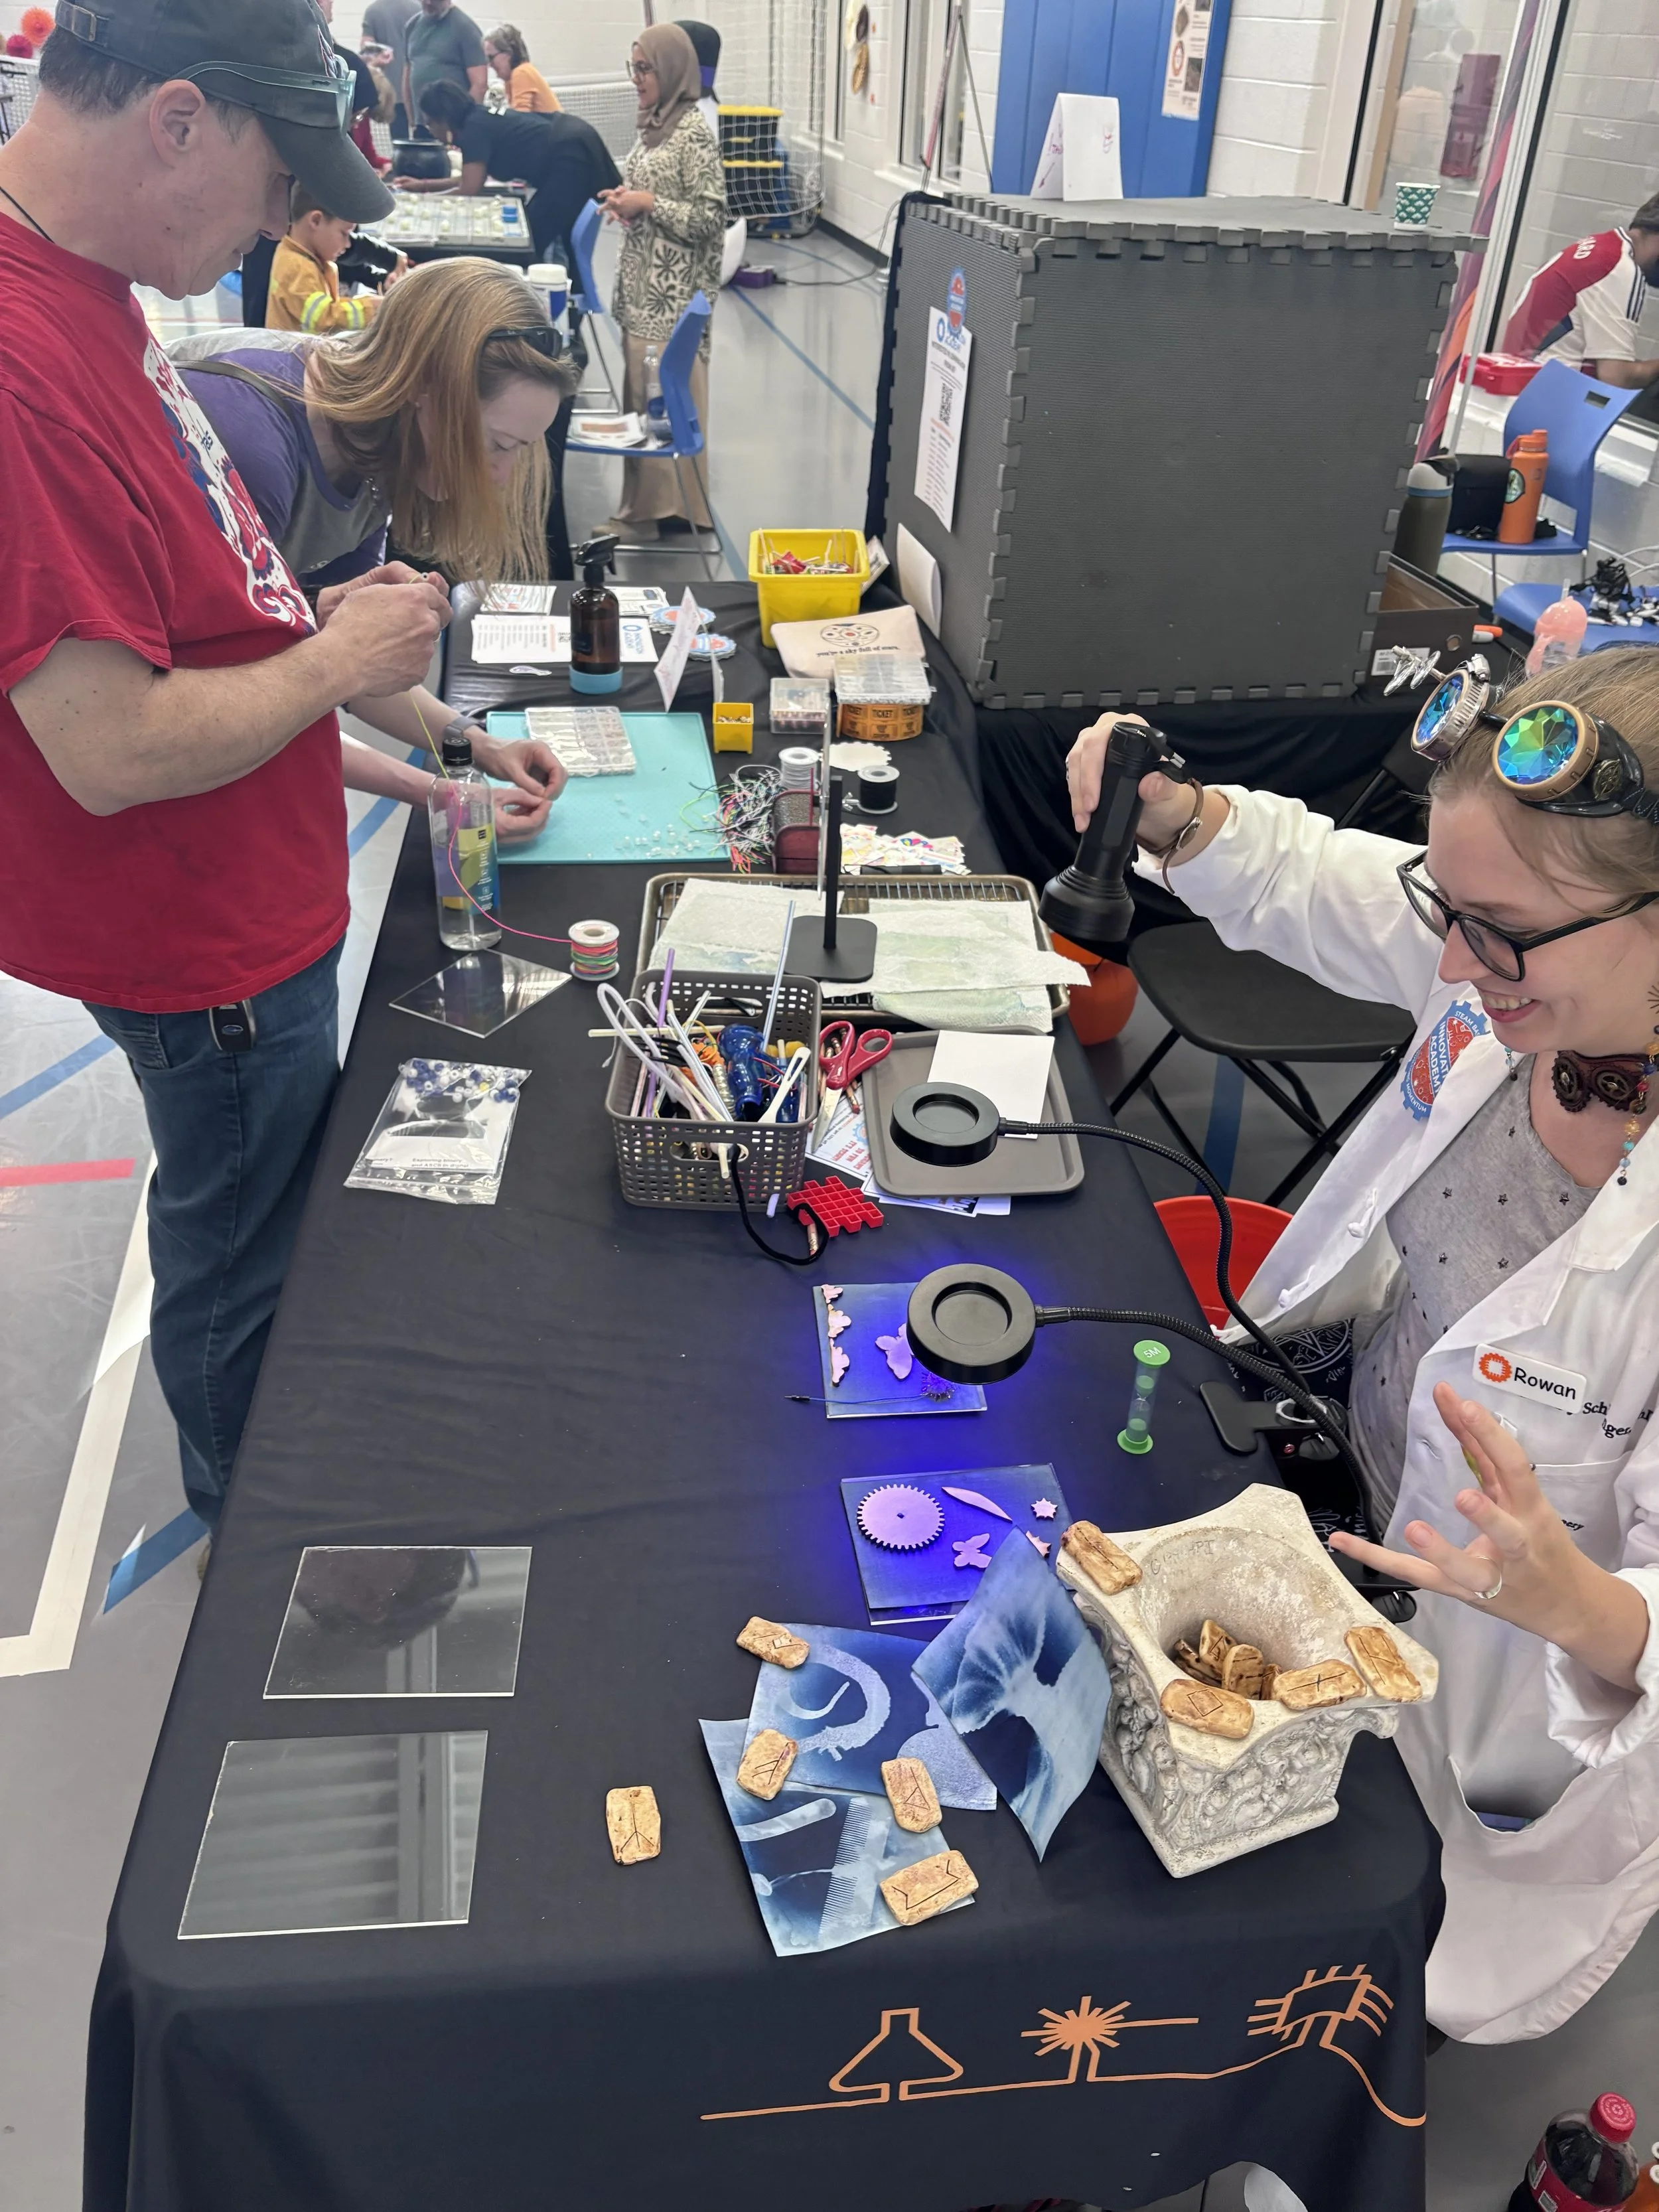
Innovation Academy rolled up to the Spooky Mad Science Expo on October 18th to spread the word about the amazing power of ultraviolet (UV) light!
We ran two projects at our table and we’re about to break it down for you to do at home. We were inside, so we used special ultraviolet flashlights - but you don’t need that at all! These projects are 100% do-able (and maybe even better!) with the power of Earth’s very own UV source - the sun! Yep, these are perfect STEAM activities for the next sunny day!
Project 1 - Sun Prints
Before digital photos, scientists actually printed with sunlight. The process, called cyanotype, was invented in 1842 by Sir John Herschel. Later, botanist Anna Atkins used cyanotype dye to make the first photographic book using sunlight and chemistry to capture the shapes of plants.
But how does it work!?

Cyanotypes use a 1:1 mix of ferric ammonium citrate and potassium ferricyanide - fancy names for two light-sensitive iron compounds. When exposed to UV light (like the sun!) they form Prussian blue, that iconic rich blue color. But any part of the dye that was blocked from light will stay white. This creates fantastic art all from the science of chemistry!
We made cyanotype dye and coated paper. But good news for you - you can buy pre-made paper to test it out! It is often called “SunArt” paper and is available from many places online. (So is the cyanotype dye if you really want to DIY!)
Materials
SunArt/DIY Cyanotype Paper
Water
Sunny Day/UV Light
Fun things to put on top of the paper!
Steps
Gather all your materials in one place - then pull a piece out and place it face up under the sun!
Quickly arrange your shapes on the paper; botanical items look amazing. get your scientist hat on and start experimenting with everything!
Let it sit in direct sunlight for at least 5 minutes. (Longer is generally preferred to shorter, the paper should turn light blue.)
Rinse your paper thoroughly under water and watch the light blue become that famous dark color!
Over the next 24 hours the blue will deepen into the final shade.
Tips
Keep your paper in a very dark place until needed or it will get exposed to UV light and won’t work.
Slightly transparent items can make astounding patterns!
Using a UV flashlight? It will take longer than the sun, try to cover the whole paper for at least 10 minutes.
Want the final blue color ASAP? A bit of hydrogen peroxide mixed with water speeds up the process.
Want to turn this into even more of a science project? Use some plastic wrap and different types of sunscreen to test for yourself how important proper UV protection is!
Project 2 - Sunlight Beads
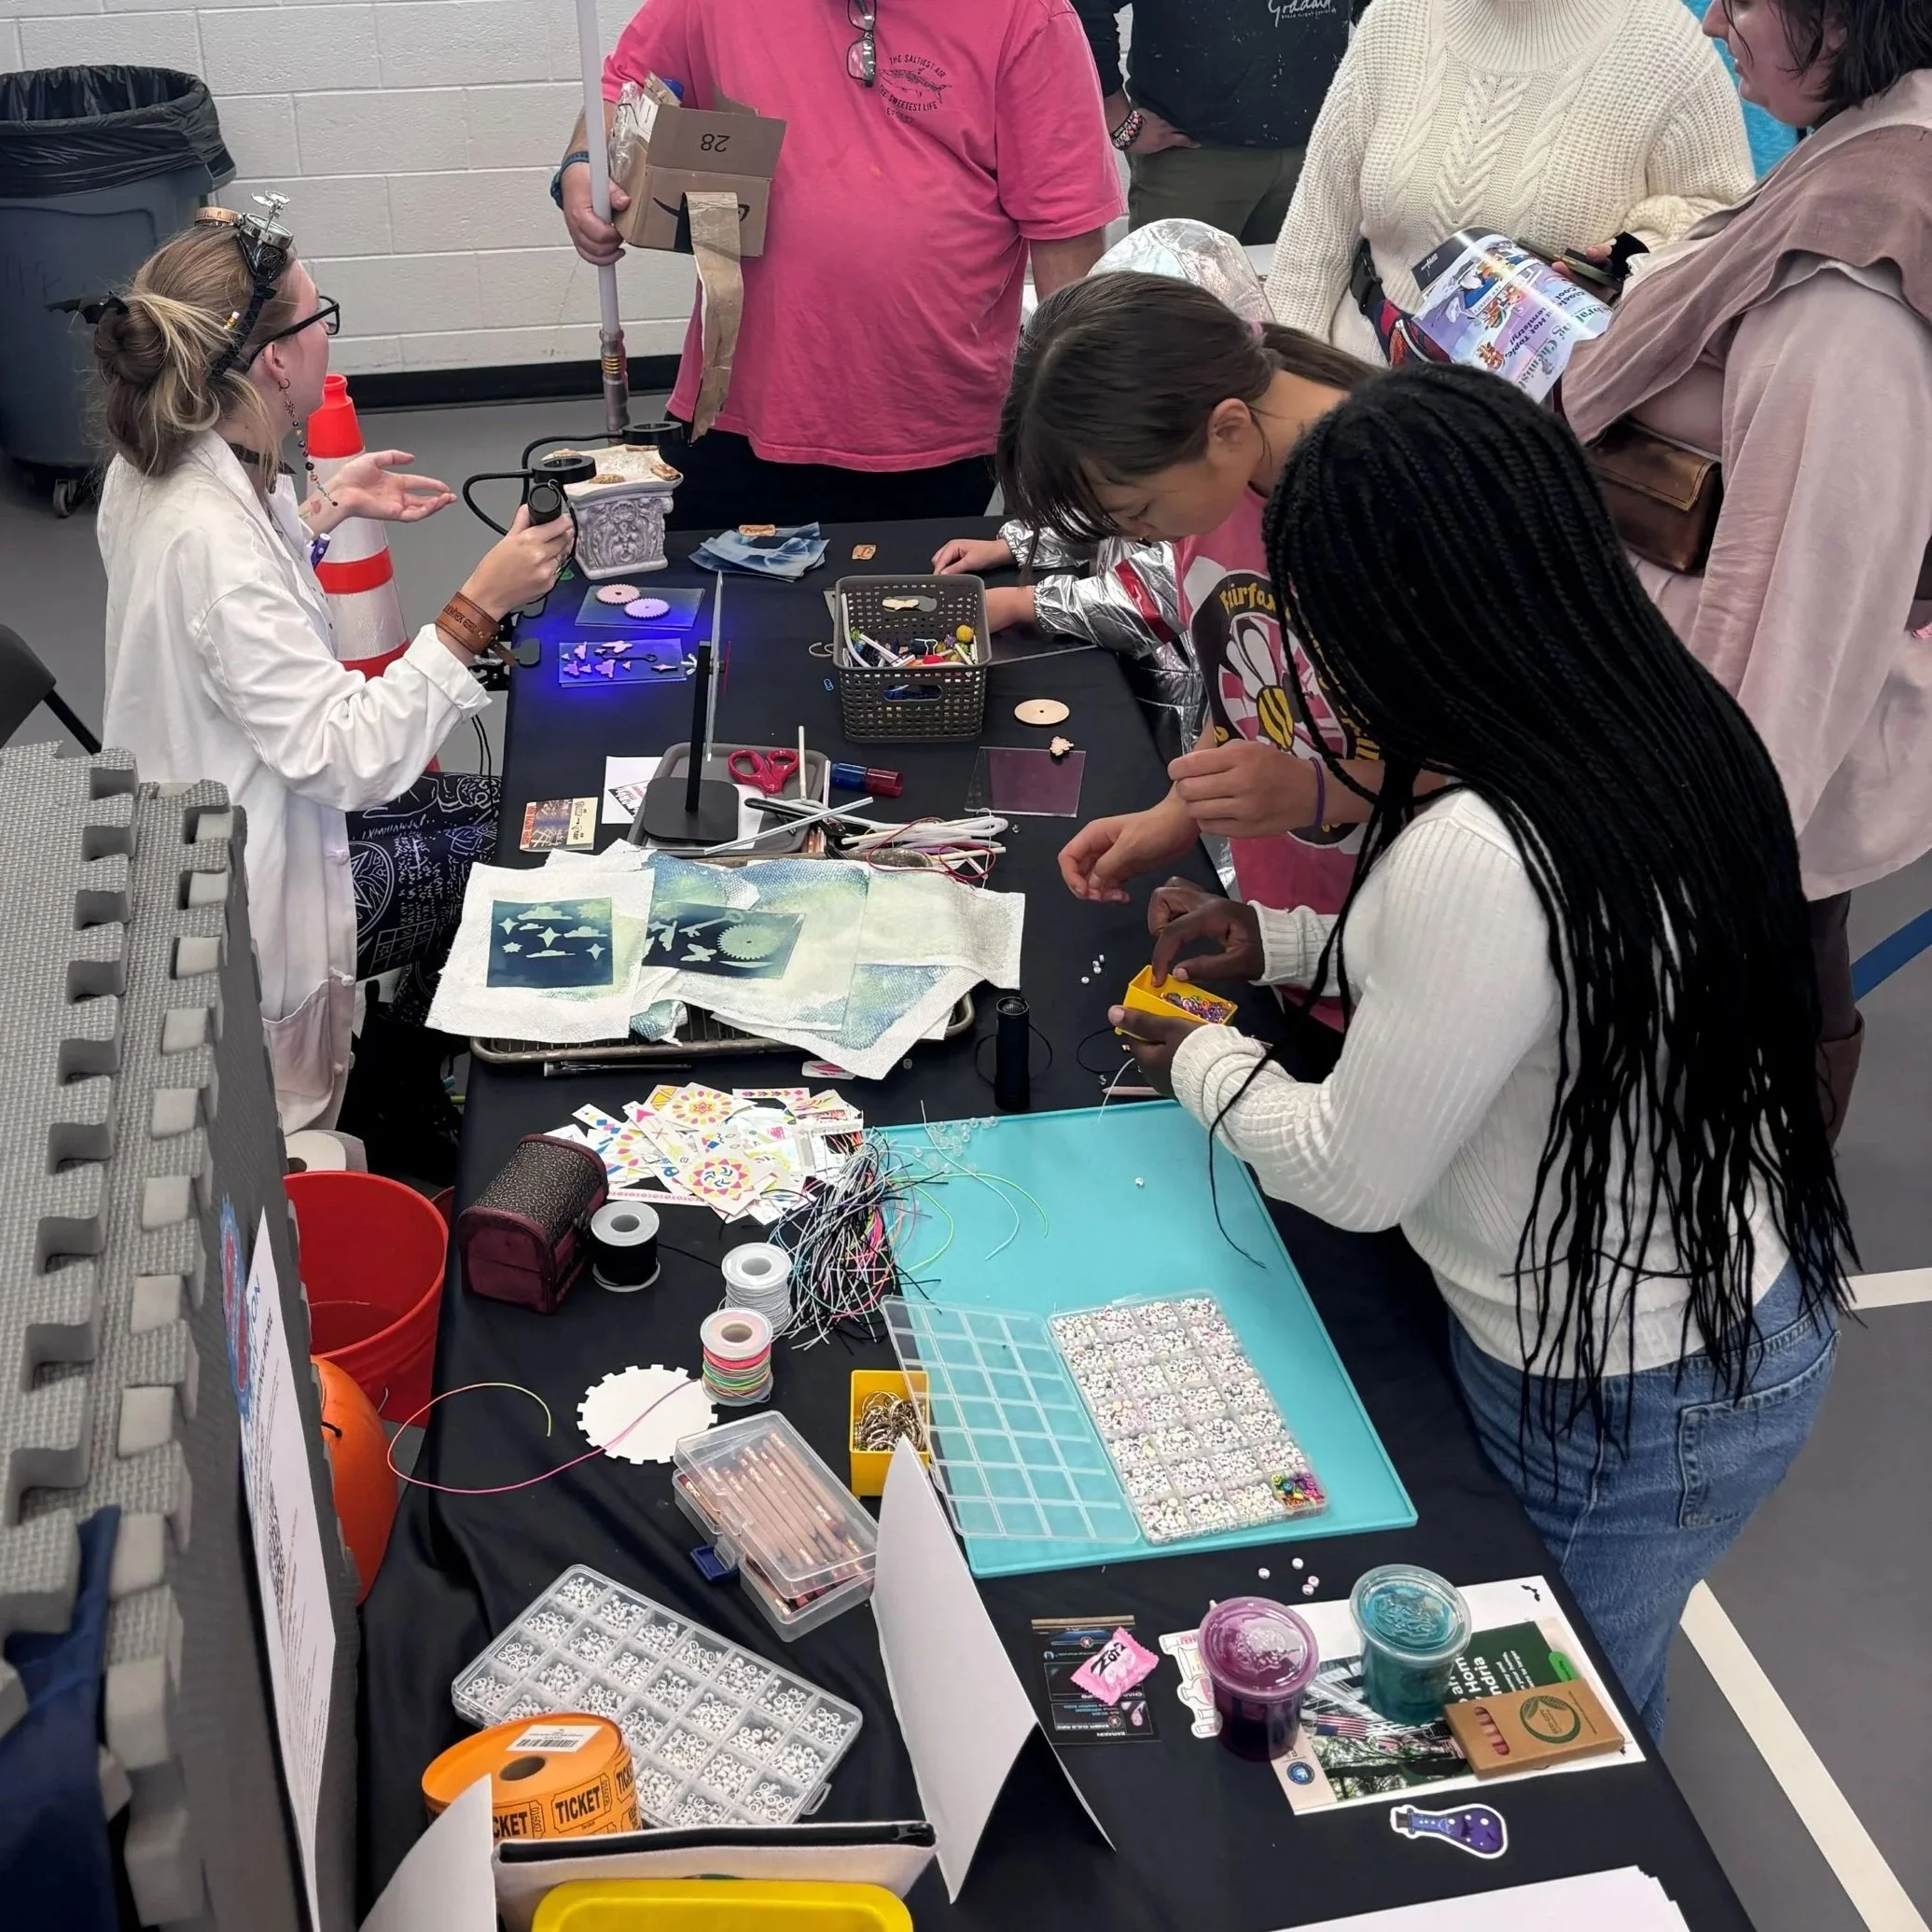
While our table visitors waited for their cyanotype paper to develop, they got crafty with some very special beads. UV reactive beads!
These beads look clear, but when sunlight hits them they quickly turn into a beautiful array of colors!
For this quick, little activity - all you need is to buy some “UV reactive beads” and make a keychain or bracelet. Voila! You have your very own sunlight indicating accessory!
See those colors changing? Time for a coat of sunscreen!
Bonus Science Fact!
Hey… what’s the difference between glow in the dark an UV reactive?
They look similar, but here’s the difference:
UV-reactive materials respond only while UV light is hitting them.
Glow-in-the-dark materials store light energy, then release it slowly—kind of like a rechargeable nightlight.
If you have a UV flashlight, you can instantly charge up anything that glows in the dark!
UV Got This!
Whether you’re making Prussian-blue masterpieces or bracelets that tell when it’s sunny, you’re not just crafting—you’re exploring light, chemistry, and physics through play.
And hey, that’s exactly what our Innovation Academy programs are all about—learning by doing (and sometimes, by getting a little messy).
So go grab some sunlight and see what a little UV power can do!